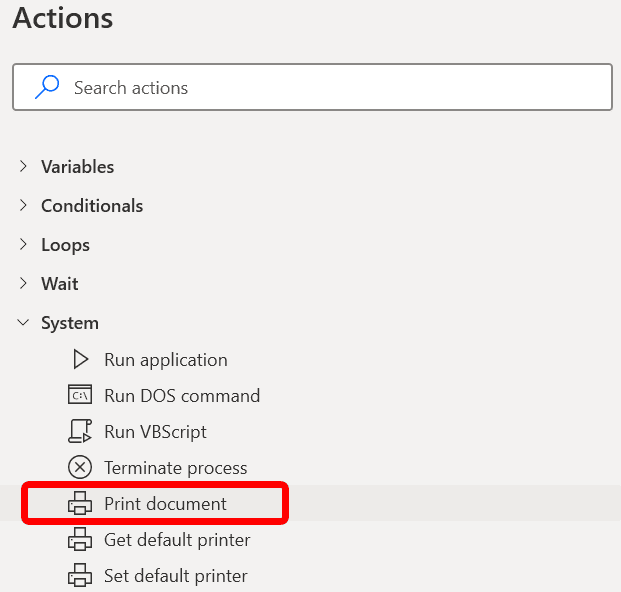
The easiest way to automate Win2PDF using Power Automate Desktop is to use the "Print Document" action from the "System" menu.
When you drag the "Print Document" action onto a Power Automate "flow", you're prompted to enter a document to print.
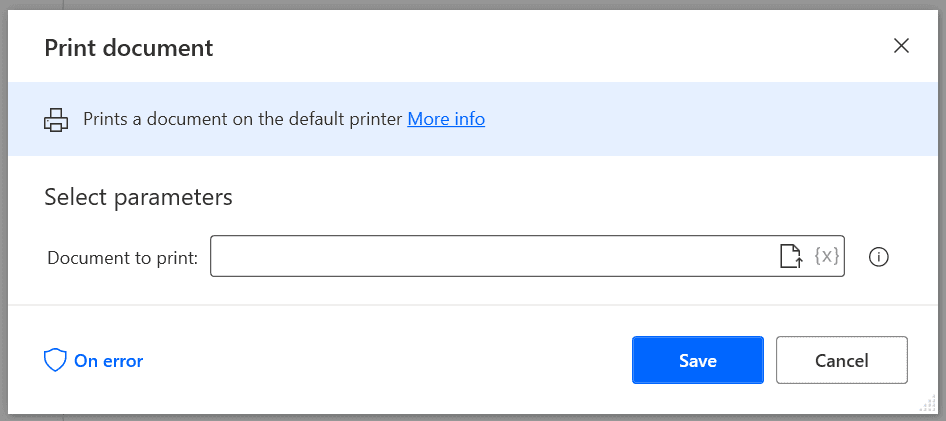
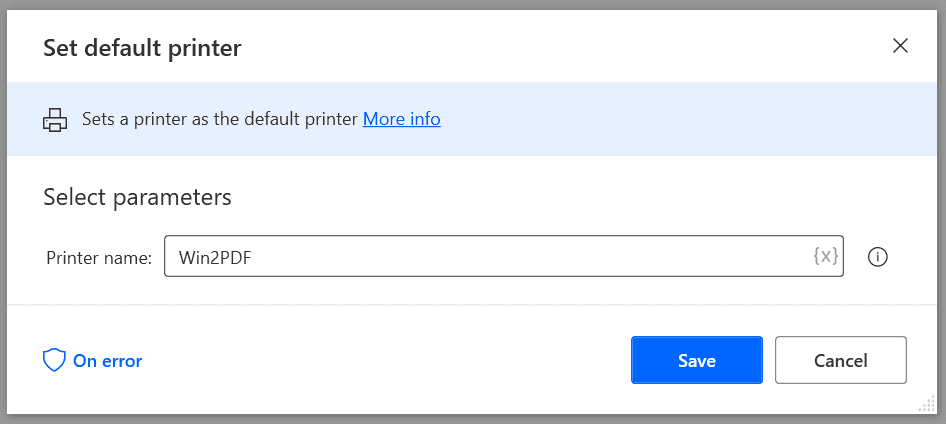
You can either select a filename, or use a variable for the file name ({x}). The "Print document" action prints to the default printer, so you should drag the "Set Default Printer" action before the "Print Document" action in the flow.
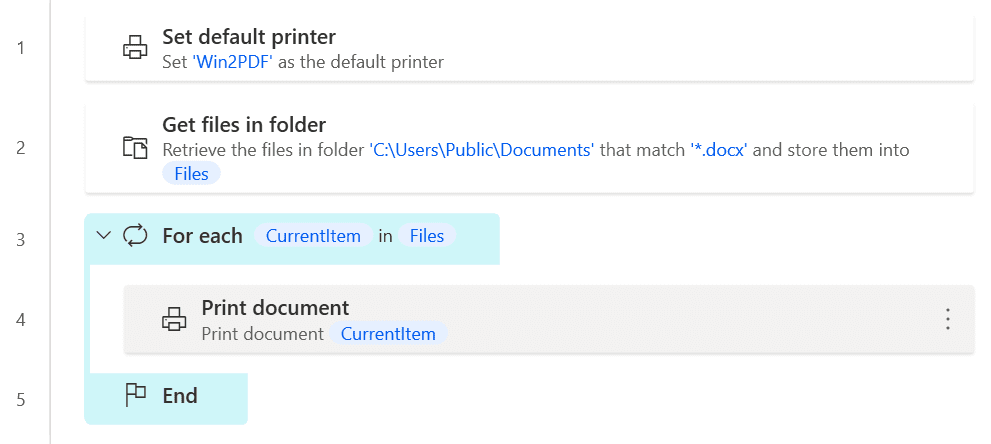
The simple "flow" should look like:

When you run this "flow", the Win2PDF printer will prompt for the name of the PDF file. If you want to avoid this, you can enable the Win2PDF Auto-name feature.
You can combine these simple Power Automate Desktop actions with the Power Automate "Get files in a folder" action to convert all documents in a folder to PDF using Win2PDF.
To use this "flow", copy the following into a new Power Automate Desktop flow:
System.SetDefaultPrinter PrinterName: $'''Win2PDF'''
Folder.GetFiles Folder: $'''C:\\Users\\Public\\Documents''' FileFilter: $'''*.docx''' IncludeSubfolders: False FailOnAccessDenied: True SortBy1: Folder.SortBy.NoSort SortDescending1: False SortBy2: Folder.SortBy.NoSort SortDescending2: False SortBy3: Folder.SortBy.NoSort SortDescending3: False Files=> Files
LOOP FOREACH CurrentItem IN Files
System.PrintDocument DocumentPath: CurrentItem
END