To configure Win2PDF to send using Outlook.com, first open the "Configure Mail" from the Win2PDF Desktop file menu.
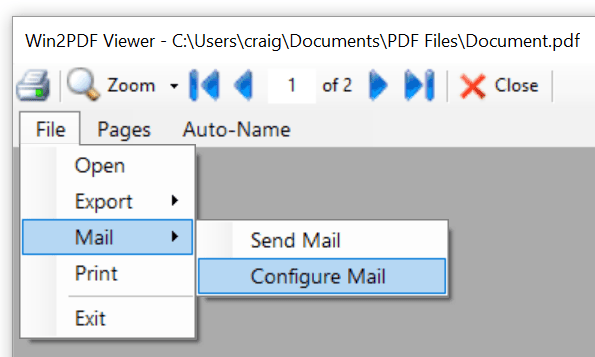
Win2PDF Configure Mail
You can also open "Configure Win2PDF Mail" from the Windows start menu under the "Win2PDF" program group. The following Window is displayed:
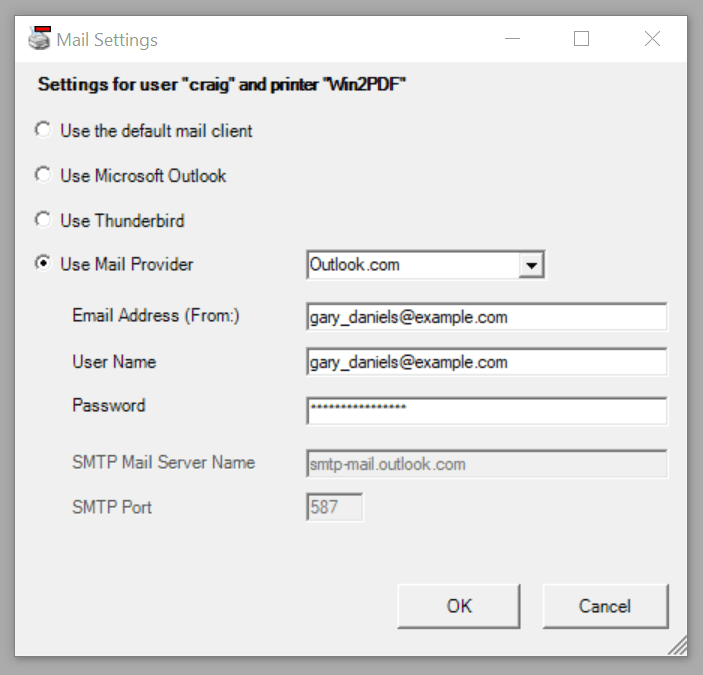
Configure Outlook.com Mail Provider
Select "Use Mail Provider" and select "Outlook.com". Fill in the "Email Address (From:)" and "User Name" fields with your Outlook.com or Hotmail.com address. Follow these steps to create an App Password.
1.You can create an app password for Outlook.com at the following page:
https://account.live.com/proofs/AppPassword
2.Copy this password to the clipboard, or write it down.
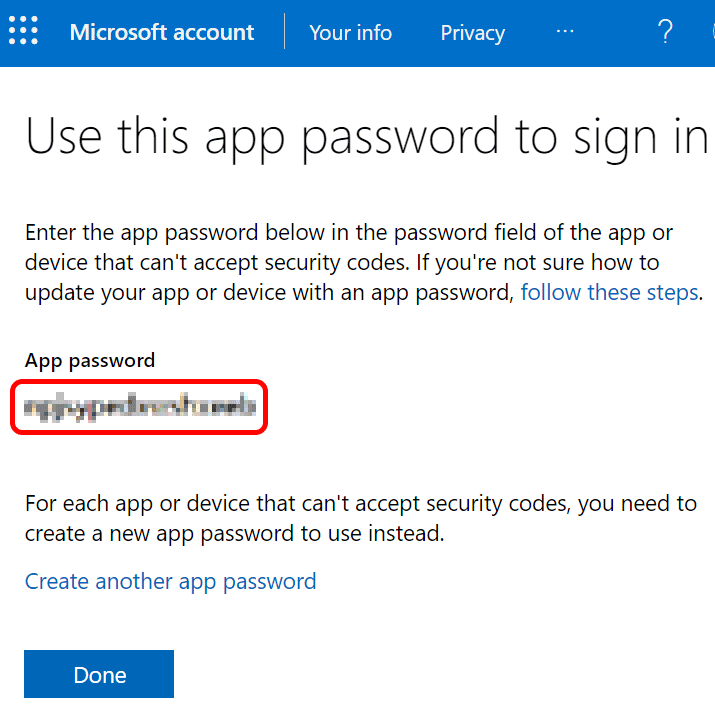
Generate Outlook.com App Password
3.Enter this app password in the Win2PDF Mail Settings "Password" field.
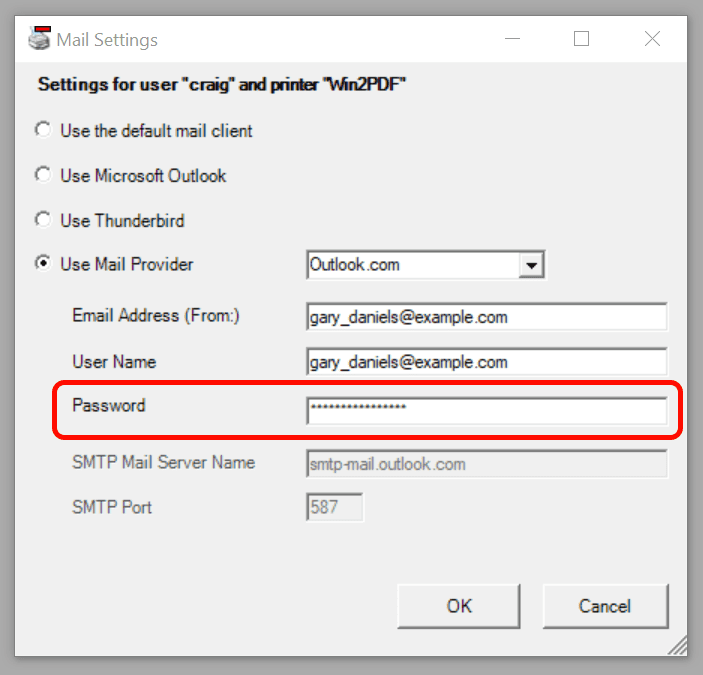
Configure Win2PDF Outlook.com Password
Note: You’ll only have to enter an App Password once, so don’t worry about memorizing it. You can generate a new App Password if you need to reconfigure Win2PDF Mail.
If you don't have 2 step verification enabled, just enter your Outlook.com password in the "Password" field.
The Win2PDF Desktop "Send Mail" and the Win2PDF "Send File" features will display the following window when you send a PDF:
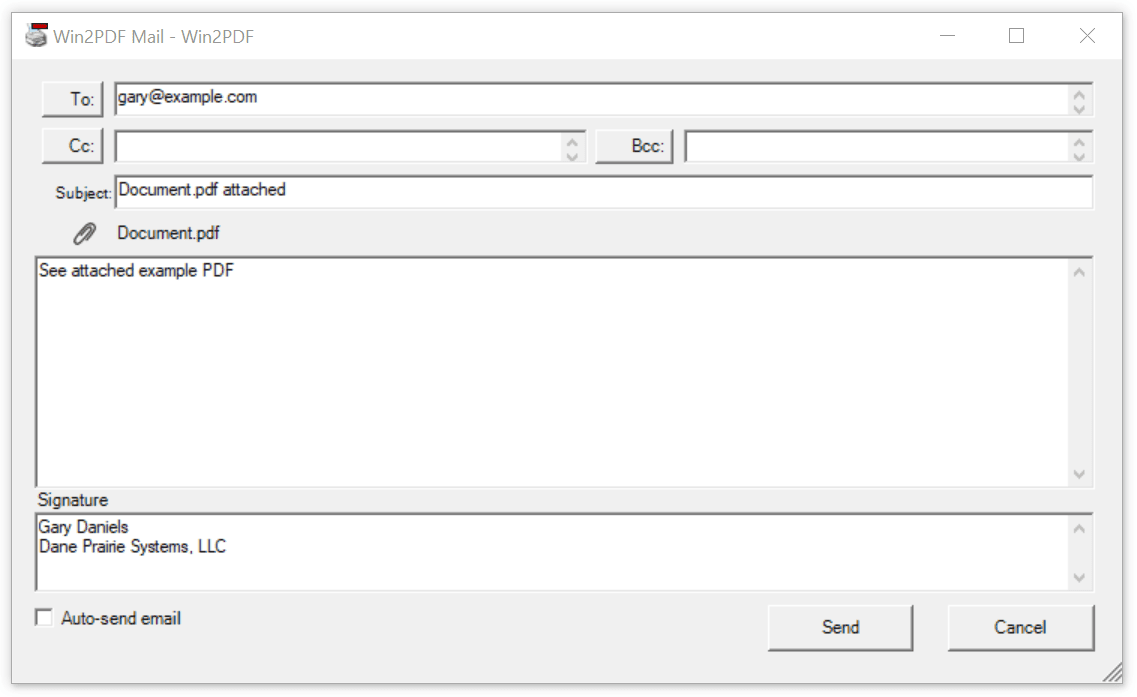
Win2PDF Compose Mail
When you click "Send", the email will be sent using the Outlook.com server.